So Currently I have three layers, the character, the black blocks on each side, and the grey background.
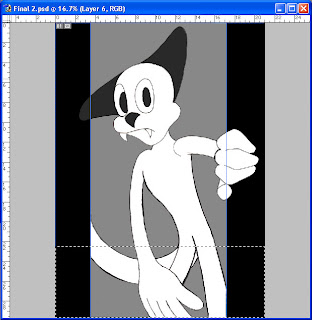
As you see, I've made a rectangula select tool. With that selection still valid, I go ahead and make a new layer.
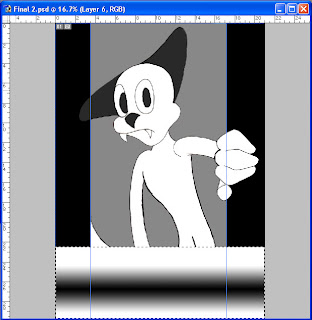
On my new layer, I make a line gradient in the selction. For now I just make it black and white to reduce complication.
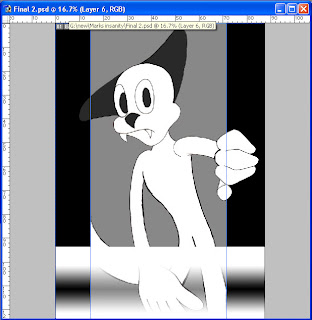
On the layer properties section, i set the layer to screen so the black becomes invisible and leaves a transparent white.
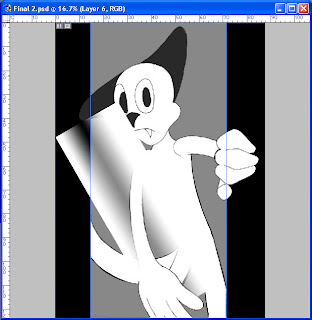
I then rotate the gradient to get it to a position ready for the twirl tool, found in the filter tab under distort.
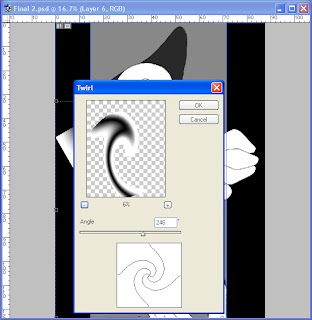
As the preview shows, the result will leave a shape which I don't want, but this can be sorted later on inthe process.
The twirled gradient still isnt the finished effect I wanted. First off, it's too thin, and doesn't pose as the main attraction to the outcome.
So what I've done here is expland the effect lengthways. But it's still not right, any thicker and it would look horrible. I have to find a way to extend the top right end and remove the excess on the top left.
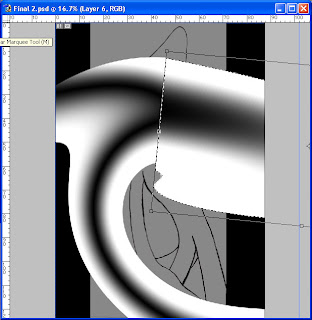
to exend the end on the top right, I simply selected that part with a rectangular select tool. I also rotate it to make it fit to the whole effect. But there is still the question of the excess parts aorund the sides.

to exend the end on the top right, I simply selected that part with a rectangular select tool. I also rotate it to make it fit to the whole effect. But there is still the question of the excess parts aorund the sides.
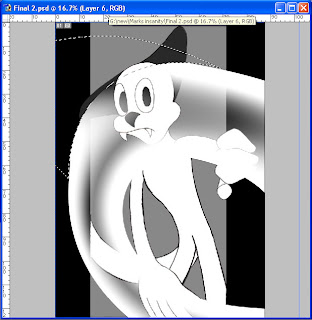
for that I used a pen tool to make a path and made sure at least one side is curved for the effect. then going around the excess, I turned the path into a selection and delecting everything on that layer in that selection.
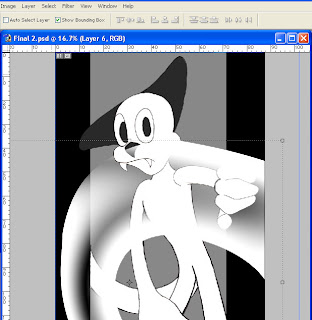
I'm now left with a nice, clean curved gradient that tickens on one side, and has an extra transparent area near the charcter's nose.
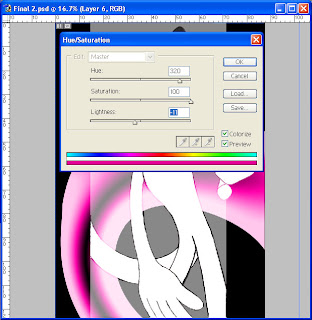
I am now hapy and willing to colour the gradient effect. To do this I go onto the Adjustments tab under image and select hue/saturation. Then before I do anything else, I click the colorize button on, so it fully colours the image, and not just try to change it. I then continue to toggle with the hue, saturation and lightness until I have the right colour mix for an 'exotic scent'.
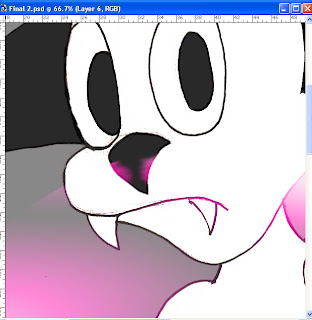
For extra detail, I erase any of this scent on the charcter's nose, and smudge it on both sides, to give the sense that he is smelling the thick aroma.
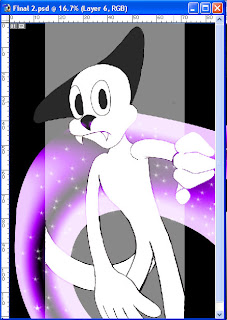
Finally for the final touch I added white stars which I happened to find on the paint shape tab in the arrow next to the brush size indicator.
Now the exotic scent is finished but this page isn't quite done yet. It needs more depth and feeling of dark to it.
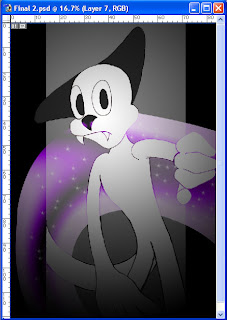
So what I've done here is make a new layer, create a radial gradient, still in black to white only this time it's in reverse. I've also set the layer to multiply, so the whith becomes invisible, leaving a blurry black ring. But now we have a new problem, this layer has effected ALL layers behind it, especially the exotic scent. As I mentioned before I wanted it to stand out the most.
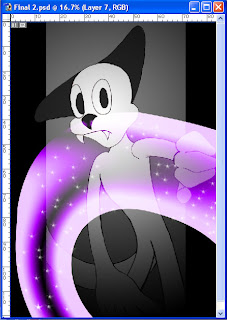
The black gradient was a very minor problem however, as I only had to push the layer containing the scent above the black gradient.
And there you have it. This is how I created an exotic scentusing only Adobe Photoshop 7. The best part of this outcome was looking back at that sparkly scent after working so hard on it.
Next time, I'll show you how to do the same thing but coming from a object as a source.


No comments:
Post a Comment