I will show you how I have progressed to a page used for my interactive survival guide.
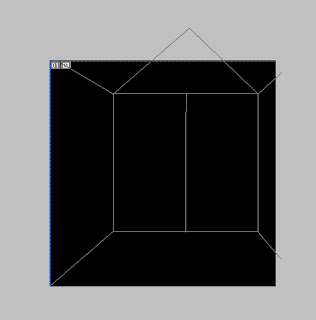
Using a black background layer, I started with a pen tool and used it to create a path that would later represent the frames of the green house. The black layer will not be part of the final design. It's sole purpose is to let the white of the greenhouse stand out only temporarily.

Once I was happy with the path made by the pen tool, I went onto the paths window and added 'stroke path', ensuring the brush tip was a thick white.

On a new layer, I started creating the soil. This brush tip shape is very convenient for this task, because it has a nice textured feel to it.
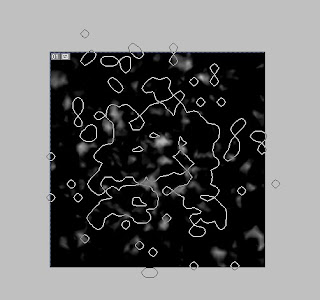

This is the 'prototype' snow layer. I made the snow by using a large brush tip shape as shown. It won't be used in the final, but it proves a useful asset in this stage.
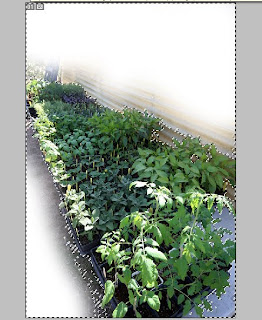

This is a plant photo I found on the internet. I used a soft-tip eraser tool to remove the exterior around the bush. I then used a magic wand tool to select the plants, so I can drag it to the greenhouse image in a new layer.
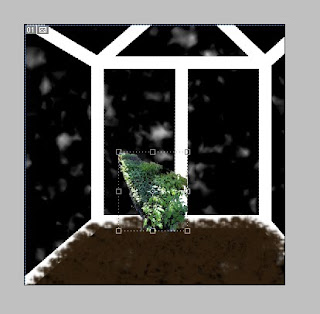

This what the image currently looks after the plant has been pulled in. The next step was to alter the perspective of the bush to fit it by the wall of the greenhouse.
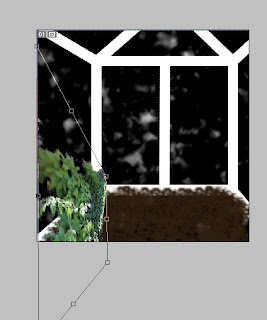

To do this I used a variety of transform techniques, found in the edit tab. These included 'skew', 'distort' and 'perspective'.
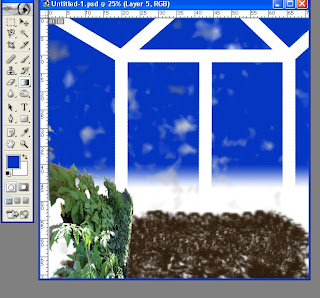
After adding a blue-to-white gradient (with white being at the bottom), I went back to the Greenhouse frame layer and used the 'blending options' to make the frames blend in. 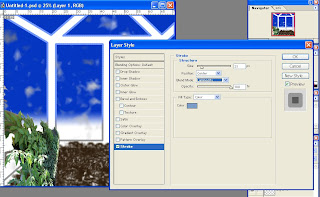
I simply used a stroke, made it slightly big with a 100% opacity and set the type to 'Overlay. This ensured the greenhouse frames were part of the image, and that it also had smooth sides to it as well.
This is not what the finished piece looks like. This is merely a process through the centre of production. The final version has more detailed snow, and plant bushes on both sides.

No comments:
Post a Comment